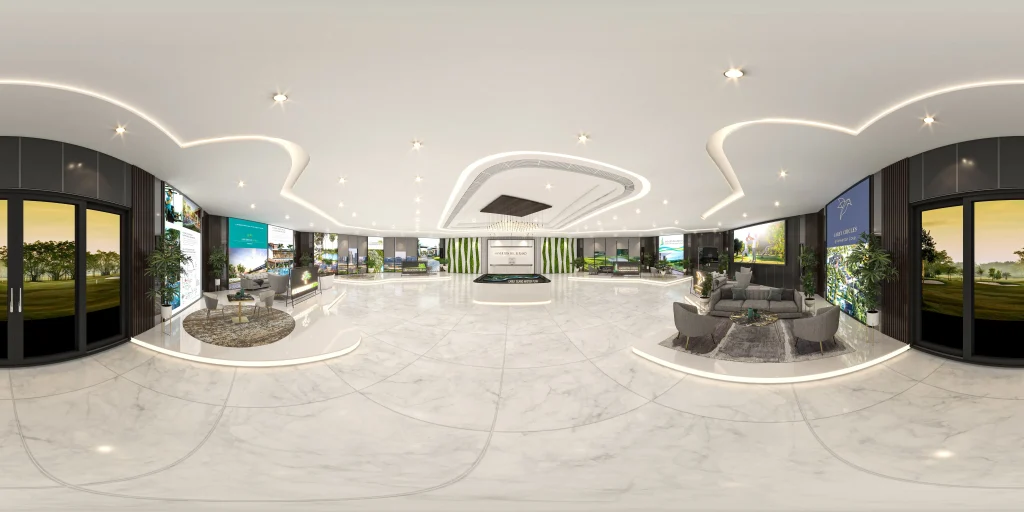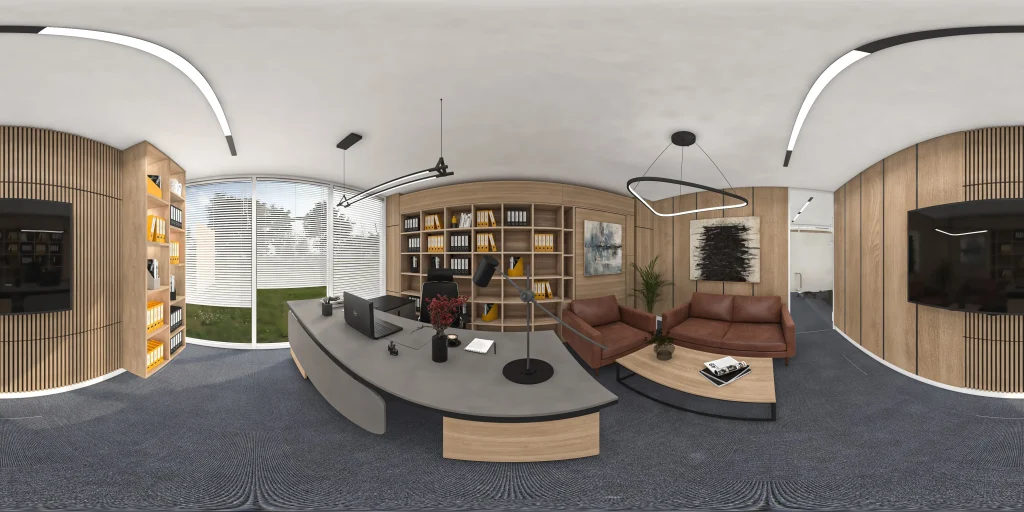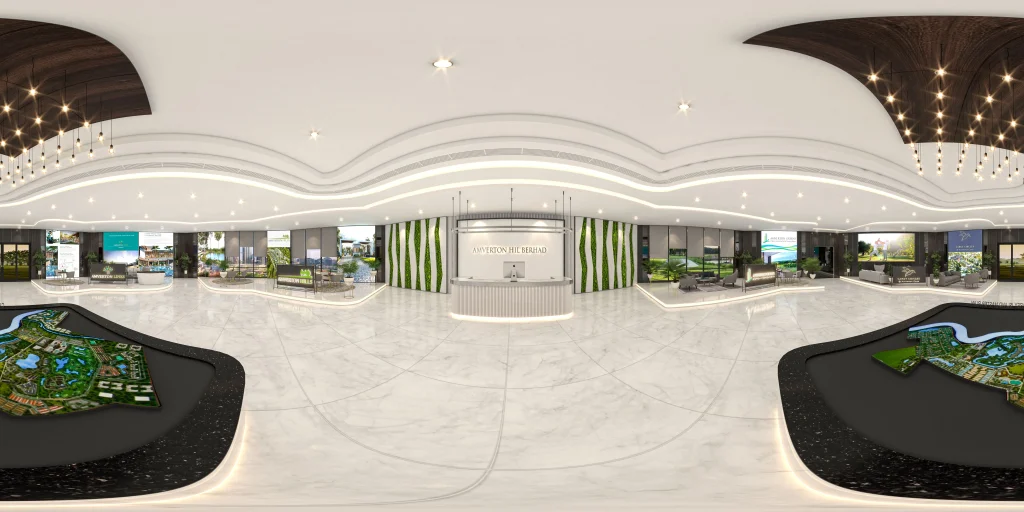
A panoramic render design refers to the creation of a visually immersive, wide-angle representation of a space or environment, typically in the form of a computer-generated image. This design process combines artistry and technology to provide viewers with a comprehensive and captivating view of an architectural space, landscape, or any setting. Below, I’ll elaborate on the various aspects of creating a panoramic render design:
- Objective and Purpose:
- The first step in designing a panoramic render is to define the objective and purpose of the render. Is it for architectural visualization, interior design, real estate marketing, or simply for artistic expression? Understanding the purpose helps in determining the key elements to include in the design.
- Selection of Software and Tools:
- Panoramic renders are often created using specialized 3D modeling and rendering software, such as Autodesk 3ds Max, Blender, Unity, or dedicated panorama creation tools like KRPano or Pano2VR.
- Scene Modeling:
- This is a crucial phase where the 3D model of the space is created. It involves defining the geometry, layout, and placement of objects, structures, and terrain. The level of detail depends on the project’s requirements.
- Texture Mapping and Materials:
- The surfaces and materials in the scene are defined. This includes applying textures, colors, and materials to different elements in the scene, such as walls, floors, furniture, and natural elements like trees and water bodies.
- Lighting:
- Lighting is one of the most critical aspects of panoramic renders. The choice of natural or artificial lighting, its intensity, direction, and color temperature significantly impact the visual appeal and mood of the render.
- Camera Placement and Settings:
- A virtual camera is placed within the 3D model to capture the panoramic view. Key settings such as field of view (FOV) and focal length are configured to achieve the desired wide-angle effect. The camera can be positioned anywhere within the 3D space to capture the desired perspective.
- Rendering:
- Once the scene is set up, rendering the image involves the calculation of the lighting, materials, and camera effects to create a high-quality image. The rendering process can be time-consuming, especially for complex scenes with many details.
- Post-Processing:
- After rendering, the image often goes through post-processing in image editing software (e.g., Adobe Photoshop) to enhance colors, contrast, and add filters or effects. This step is essential for refining the visual appeal.
- Stitching and Panorama Creation:
- To achieve the panoramic effect, multiple images are often stitched together using panorama stitching software. This process involves aligning and blending individual images to create a seamless, wide-angle view.
- Export and Presentation:
- The final panoramic render can be exported in various formats, such as JPEG, PNG, or interactive formats like HTML5 for web-based presentations. These renders can be showcased on websites, in presentations, or in virtual reality experiences.
- User Interaction (if applicable):
- For interactive panoramic renders, users can explore the environment using navigation tools, zoom in on details, or click on hotspots to access additional information or features.
- Quality Control and Review:
- Before final presentation, the panoramic render is reviewed for any imperfections or discrepancies that need correction.
- Feedback and Revisions:
- If the panoramic render is created for a client or a specific purpose, feedback and revisions may be necessary to ensure it meets the desired objectives and expectations.
In summary, panoramic render design is a multi-step process that involves creating a comprehensive, immersive visual representation of a space or environment. It combines 3D modeling, lighting, texturing, rendering, and post-processing to create a compelling and engaging visual experience. The specific tools, techniques, and level of detail will vary based on the project’s requirements and objectives.